Setting Up Development In Wsl
August 09, 2020By the end of this guide, you’ll have the following installed:
WSL
This guide will use “Ubuntu”. So your mileage may vary.
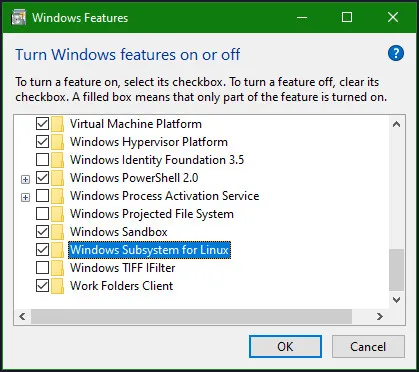
Enable the feature
You will be prompted to restart your machine after enabling.
Search for “Turn Windows features on or off”.

And check the option that says “Windows Subsystem for Linux”.
Download Ubuntu from the store
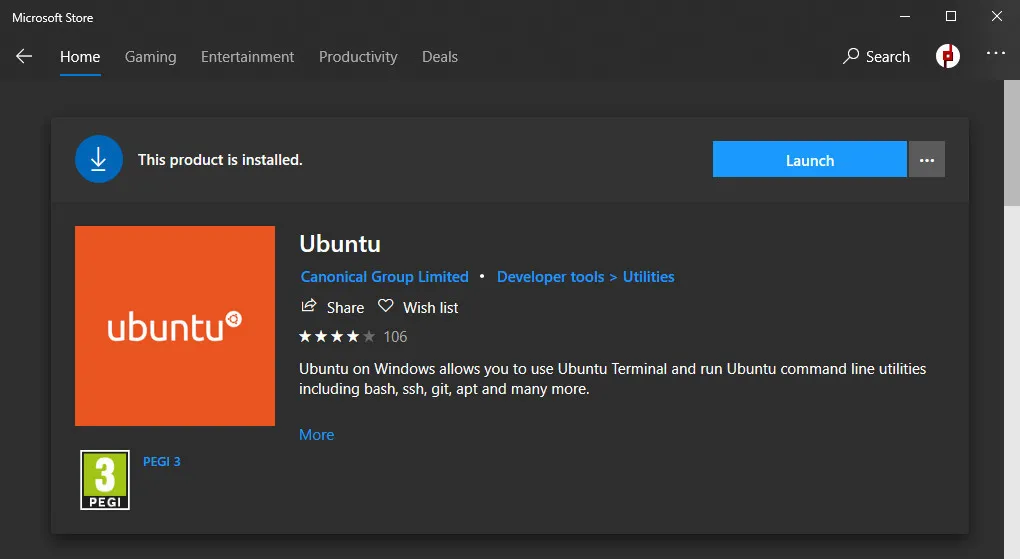
As of this writing, the “Ubuntu” with no version number is 20.04.
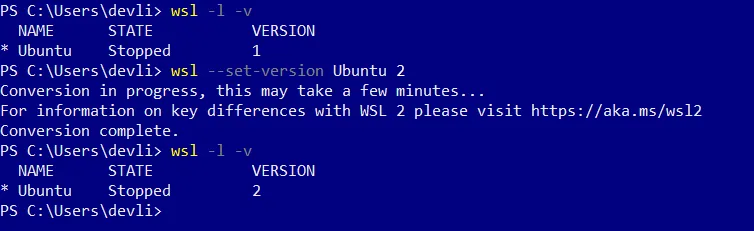
Converting to WSL 2
Open powershell and wsl --set-version <name> 2 on the distro you want to upgrade.
To move your projects to the WSL network, just do explorer.exe . on the directory like ~/projects to open it in the File Explorer and copy your files.
To open your projects in VSCode, navigate to the directory and do code ..
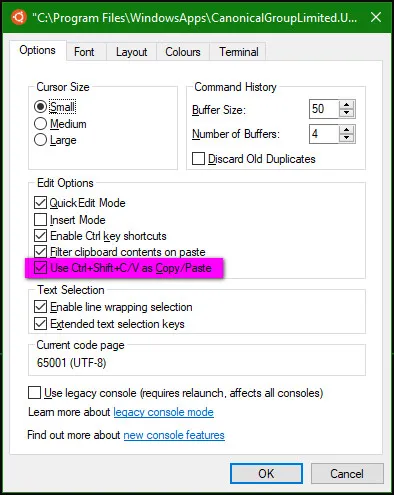
Copy and Pasting
Right click on the title bar of the Ubuntu terminal and click on Properties. In the Options tab, check “Use Ctrl+Shift+C/V as Copy/Paste”
Fonts
Some characters will not work out of the box. I’m currently using “DejaVu Sans Mono for Powerline”.
Download is available here ↗️
Git
Install Git
sudo apt-get updatesudo apt-get install git
# verifygit --versionSet your identity
git config --global user.name "John Doe"git config --global user.email "john.doe@gmail.com"A better git log
git config --global alias.lg "log --color --graph --pretty=format:'%C(bold yellow)%h%Creset -%C(bold cyan)%d%Creset %s %C(bold cyan)(%cr) %C(bold red)<%an>%Creset' --abbrev-commit"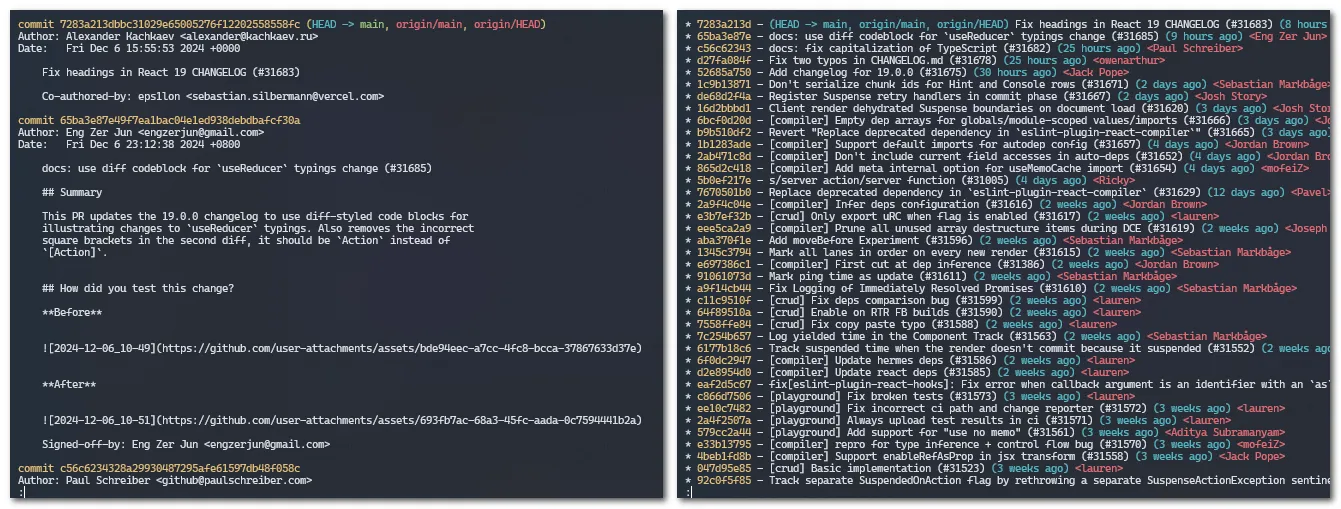
Use it by running git lg
Colors available are: normal, black, red, green, yellow, blue, magenta, cyan, white
Attributes available: bold, dim, ul, blink, reverse
Configure Git to push on current branch
To avoid pushing to the wrong branch, especially master.
git config --global push.default currentWhen doing a push, no need to specify to which branch. Just run git push origin and it will push to whatever branch you’re currently on.
Hub
This is optional.
Hubis a superset ofgitlike howTypeScriptis a superset ofJavaScript.
# Install binary and documentationwget https://github.com/github/hub/releases/download/v2.2.9/hub-linux-amd64-2.2.9.tgztar zvxvf hub-linux-amd64-2.2.9.tgzsudo ./hub-linux-amd64-2.2.9/install
# Skipped autocomplete and alias
# Cleanuprm -rf hub-linux-amd64-2.2.9With hub you can do a pull request to github by running hub pull-request -b <branch> -m <pr_message>.
Generate SSH key
ssh-keygen -t rsa -C "your_email@example.com"
# You can just press Enter when it asks to enter a file to save the key
# Copy key to clipboardcat ~/.ssh/id_rsa.pub
# Add the ssh key on github or bitbucket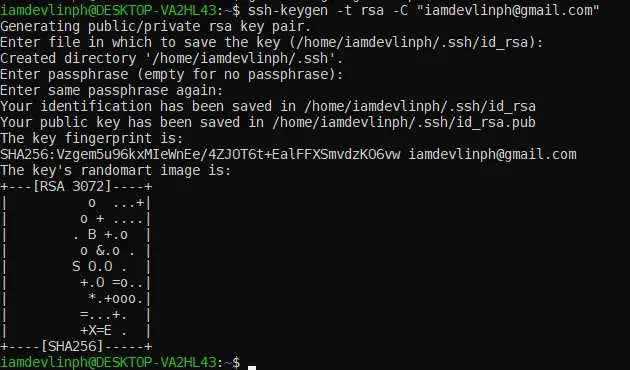
ZSH Shell
I prefer zsh but you can replace it with others like fish or just the default bash shell.
Install ZSH
sudo apt-get install zsh
# verifyzsh --version
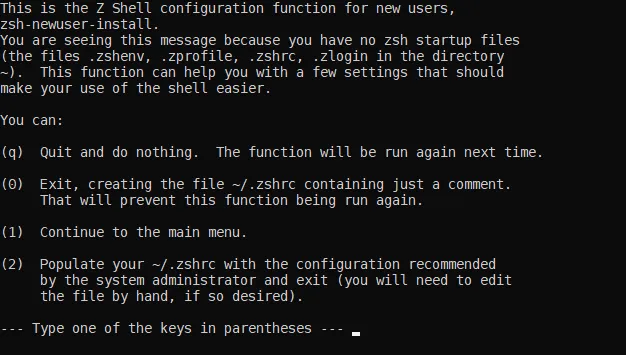
# set as defaultchsh -s $(which zsh)
# reopen the terminalYou’ll be greeted with this screen, select the (q) option.
Installing Oh my ZSH
sh -c "$(curl -fsSL https://raw.githubusercontent.com/robbyrussell/oh-my-zsh/master/tools/install.sh)"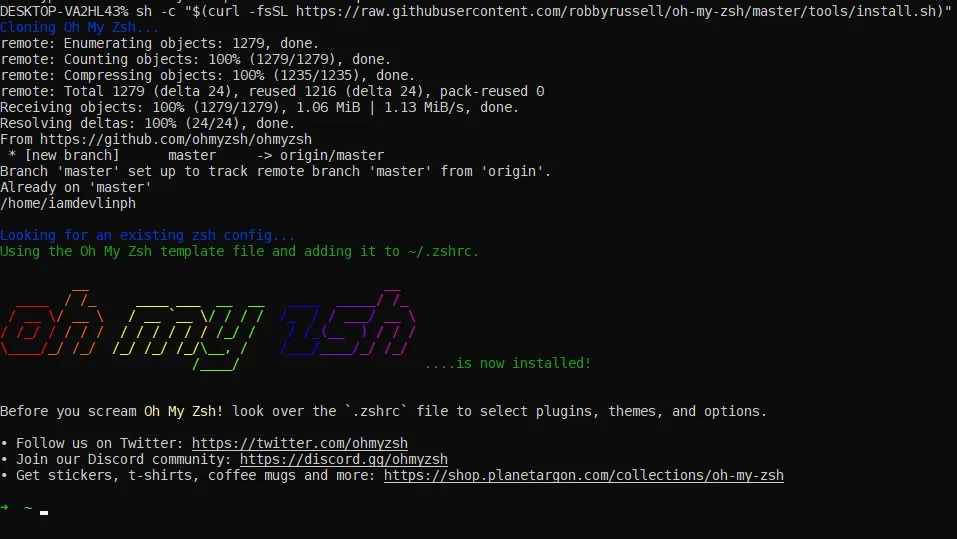
Auto suggest
git clone https://github.com/zsh-users/zsh-autosuggestions ${ZSH_CUSTOM:-~/.oh-my-zsh/custom}/plugins/zsh-autosuggestionsUsing plugins in ZSH
Edit your ~/.zshrc file and find the plugins section
# find this line and add the followingplugins=(git ssh-agent zsh-autosuggestions)Refresh zsh to apply the changes
source ~/.zshrcNode
This will install Node using nvm to avoid using sudo
Install by nvm (Recommended)
# you can replace zsh with bash# this will add some scripts to the .zshrc or .bashrccurl -o- https://raw.githubusercontent.com/nvm-sh/nvm/v0.39.1/install.sh | zsh
# Note: On Linux, after running the install script, if you get nvm: command not found or see no feedback from your terminal after you type:command -v nvm
# If that doesn't work, you can try this command insteadsource ~/.nvm/nvm.sh
# To verify nvm installationnvm --version
# install latest ltsnvm install --lts # or `nvm install 12` for specific version
# To verify node installationnode --versionThe normal way which will require sudo
# replace "setup_8.x" with the version you want# like "setup_7.x" if you want to install version 7.xcurl -sL https://deb.nodesource.com/setup_8.x | sudo -E bash -sudo apt-get install -y nodejs
# verfiynode -vnpm -v
# to update npm (if necessary)npm i -g npmReinstalling node
sudo apt-get remove nodejssudo apt-get remove npmsudo apt-get update
# verify by runningwhich nodejs npm node
# should return a 'not found'# then install againtmux
Install tmux
sudo apt-get updatesudo apt-get install tmux
# verifywhich tmux# /usr/bin/tmux
# start tmuxtmuxConfiguring tmux
Create a tmux configuration file
# Create .tmux.conf in your home directroy# This will hold tmux configurationscd ~nano .tmux.confAdd the 1st part on the config for now
# remap prefix from C-b to C-aunbind C-bset-option -g prefix C-abind-key C-a send-prefix
# set pane using mouseset -g mouse on
# make tmux use your preffered shellset-option -g default-shell /bin/zsh
# use 256 term for pretty colorsset -g default-terminal "screen-256color"
# decrease command delay (increases vim responsiveness)set -sg escape-time 1
# color status barset -g status-bg colour235set -g status-fg white
# new pane on the same pathbind '"' split-window -c "#{pane_current_path}"bind % split-window -h -c "#{pane_current_path}"
# add tmux prefix key pressed indicatorset -g status-right '#{prefix_highlight} | %a %Y-%m-%d %H:%M'
# customize indicatorset -g @prefix_highlight_bg 'colour201'set -g @prefix_highlight_fg 'black'# to apply modificationstmux source-file .tmux.confInstalling plugins
This will install the following plugins:
- tpm
- tmux-sensible
- tmux-resurrect
- tmux-prefix-highlight
Add the rest of the config
# list of pluginsset -g @plugin 'tmux-plugins/tpm'set -g @plugin 'tmux-plugins/tmux-sensible'set -g @plugin 'tmux-plugins/tmux-resurrect'set -g @plugin 'tmux-plugins/tmux-prefix-highlight'
# keep this at the bottom of .tmux.conf# initialize tmux plugin managerrun '~/.tmux/plugins/tpm/tpm'# to install tmux pluginsprefix + I#ctrl+a, shift+iThere’s no progress indicator but once complete this screen will show
tmux key combinations
prefix means crtl+a or whichever prefix you have set.prefix% - split horizontallyprefix "- split verticallyprefix ctrl+s- save layout for tmux-resurrectprefix ctrl+r- reload layoutprefix c- create a windowprefix w <window_number>- switch to a windowprefix x- close a paneprefixz - make pane fullscreen
prefix zis important because you aren’t able to highlight multiple lines in a vertical pane because the other panes will be highlighted too.
other key combinations
To highlight texts inside WSL while using tmux you’ll have to hold down shift and highlight.
- ctrl+shift+c - copy highlighted text
- ctrl+shift+v - paste to terminal while using tmux
Refer to #copy-and-pasting for the combinations above
If you’re using Windows Terminal ↗️, you still need to hold shift when highlighting but you can use the normal ctrl+c and ctrl+v.
Update history:
- Jan 20, 2021 - updated nvm section, add
source ~/.nvm/nvm.sh - Jan 20, 2021 - updated tmux section, add
tmuxcommand to go to tmux - Feb 09, 2021 - add
setopt HIST_IGNORE_SPACE - Aug 09, 2022 - remove
setopt HIST_IGNORE_SPACE, update stuff